
In Development: Adventures in Film, Volume Twelve
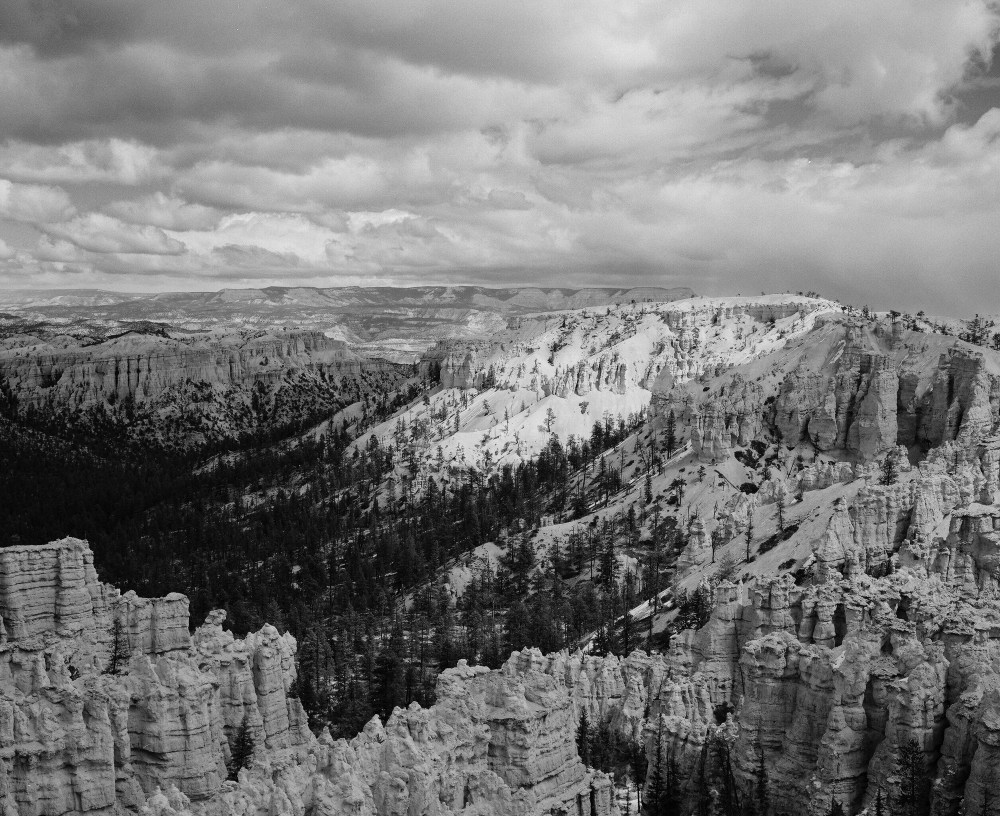
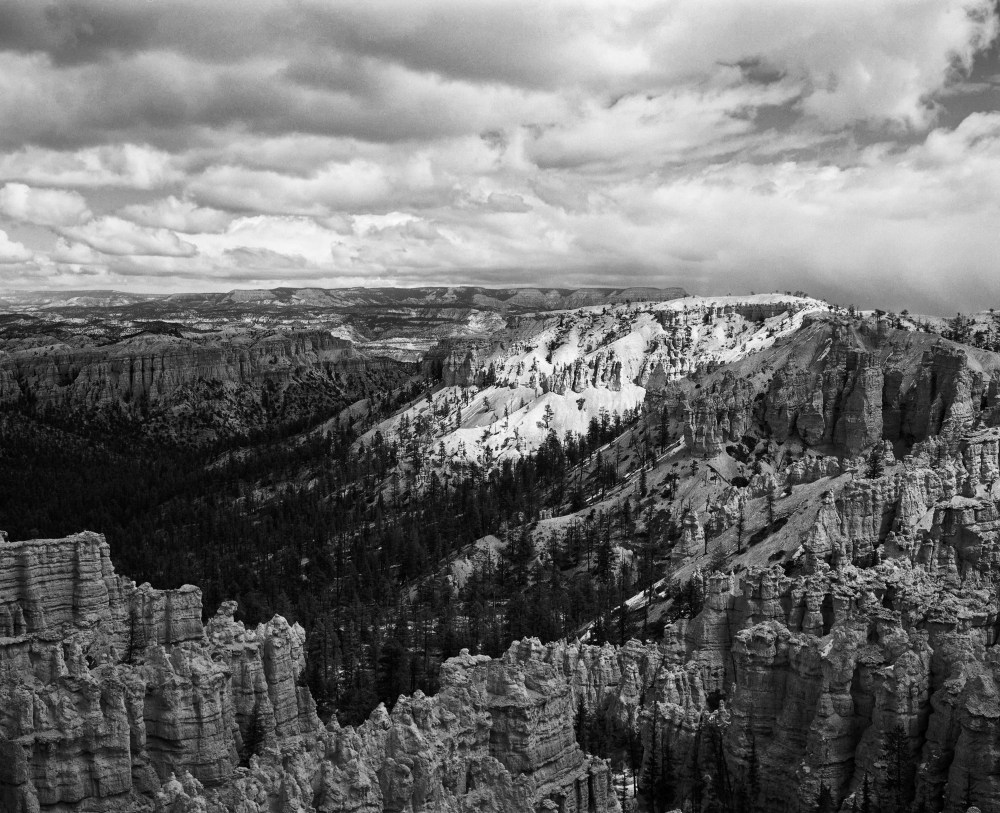
This roll of film just about wraps up last winter’s trip to Zion, Bryce Canyon, Capitol Reef, and Black Canyon of the Gunnison national parks. It was an excellent – albeit freezing – trip, and re-living it through these film photos has been really special. I took a lot of digital photos during the trip as well, and in all honesty I think the digital photos turned out better than the film ones. But I took so many digital photos that I don’t really remember taking many of them. With the film ones, however, I’m transported back to that exact moment in time when I clicked the shutter every time I look at them.
Obviously that phenomenon isn’t directly a result of shooting film, but rather a result of the way I shoot when I’m using film. That’s been one of my big takeaways with this adventure into film. I’ve taken that mindful attitude to my digital photography over the last ~6 months as well, and I think that’s a good thing. This isn’t to say that every shot has to be a winner – my success rate is still pretty low – or that shooting a lot is a bad thing…it’s just that rarely is being mindful of each frame a bad thing.
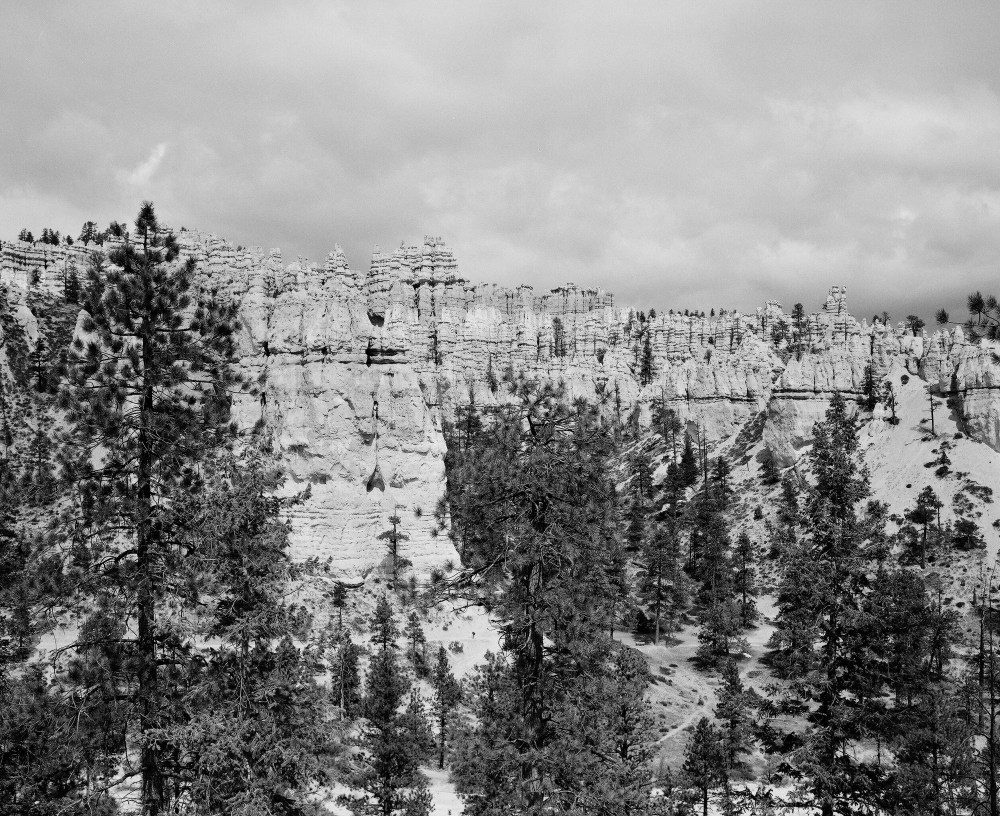
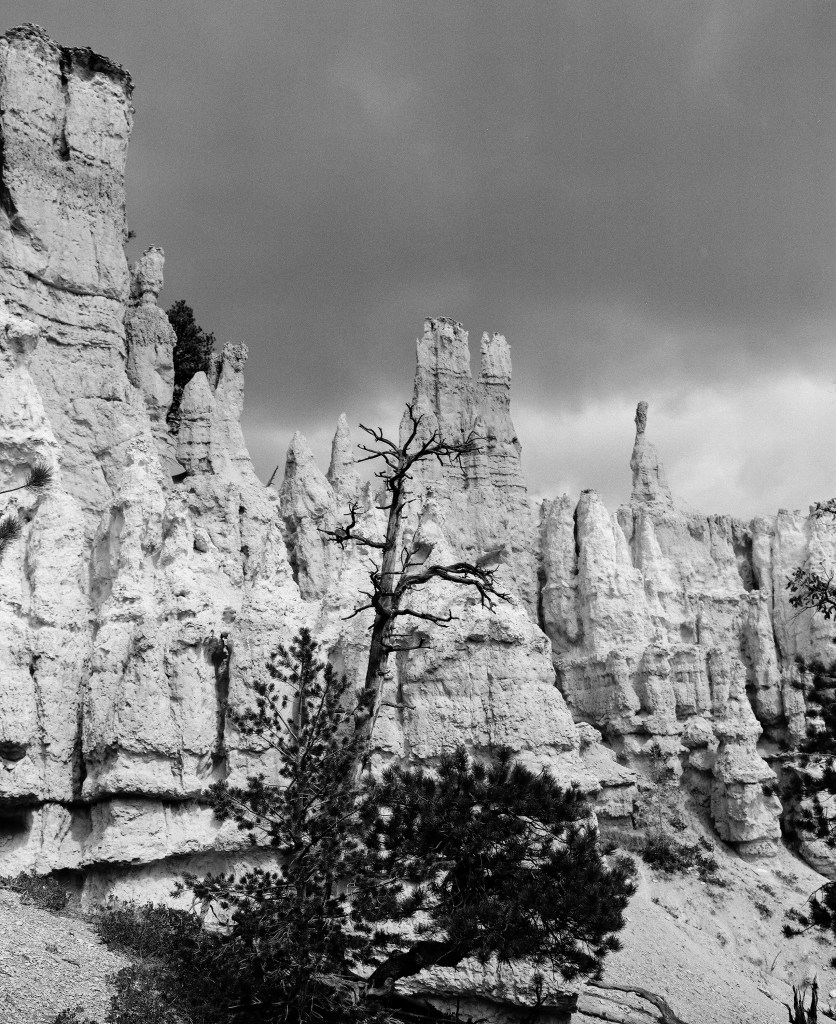
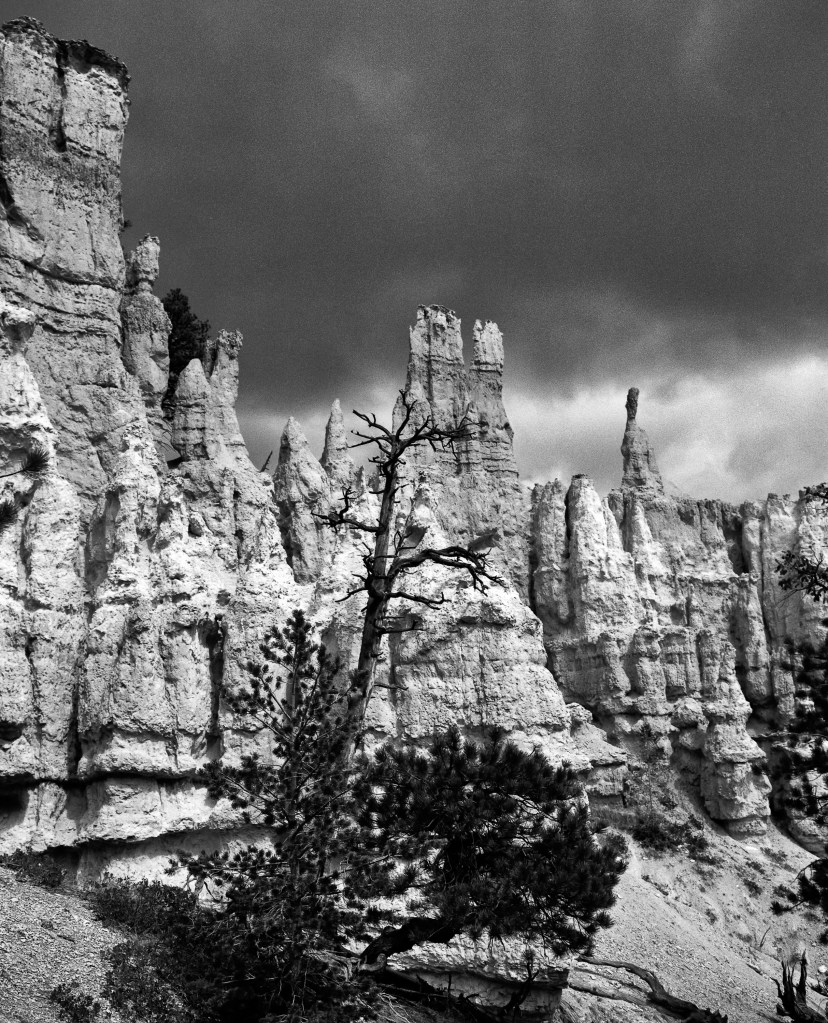
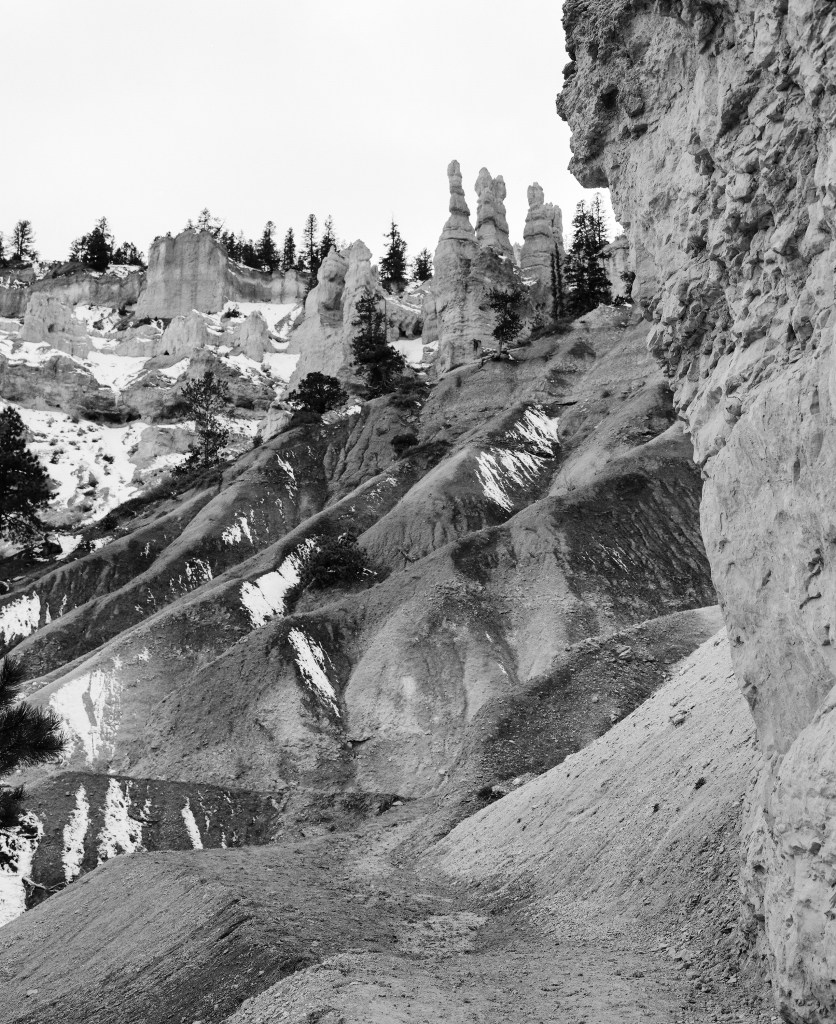
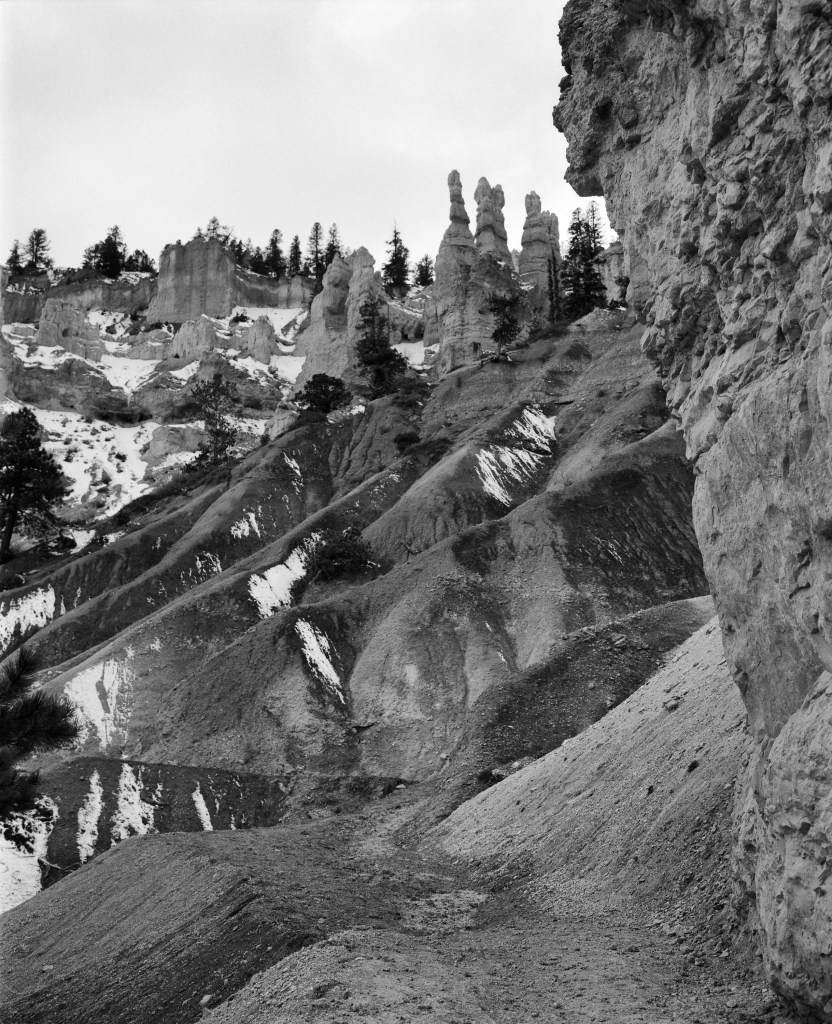
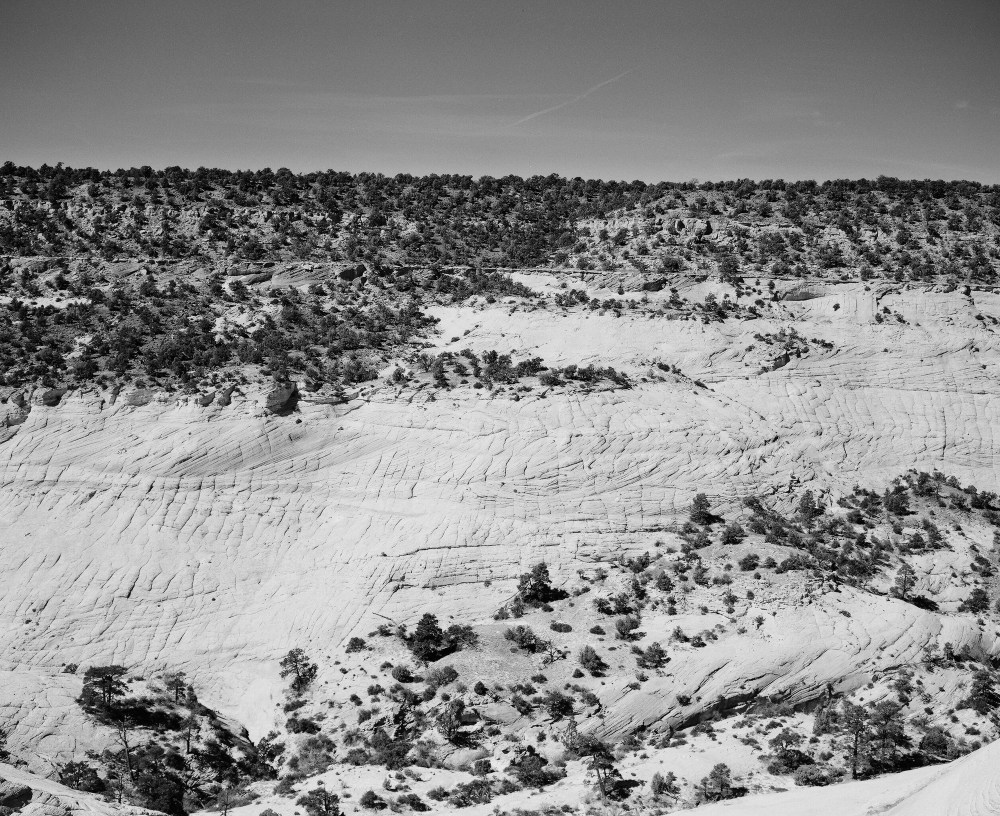
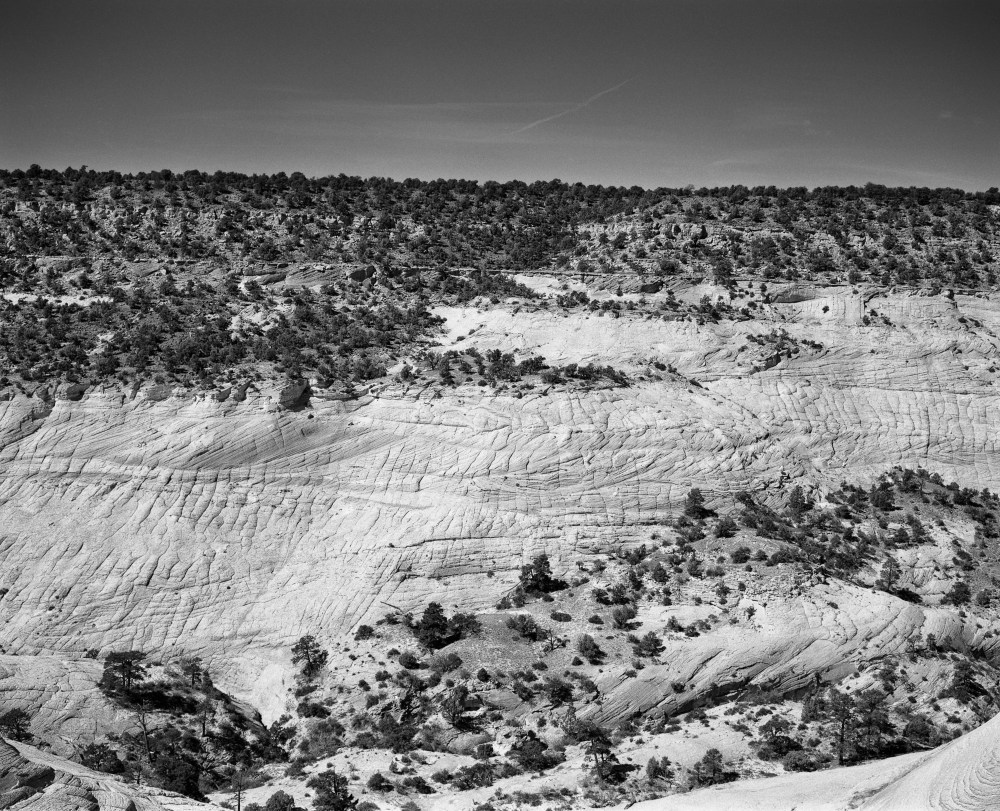
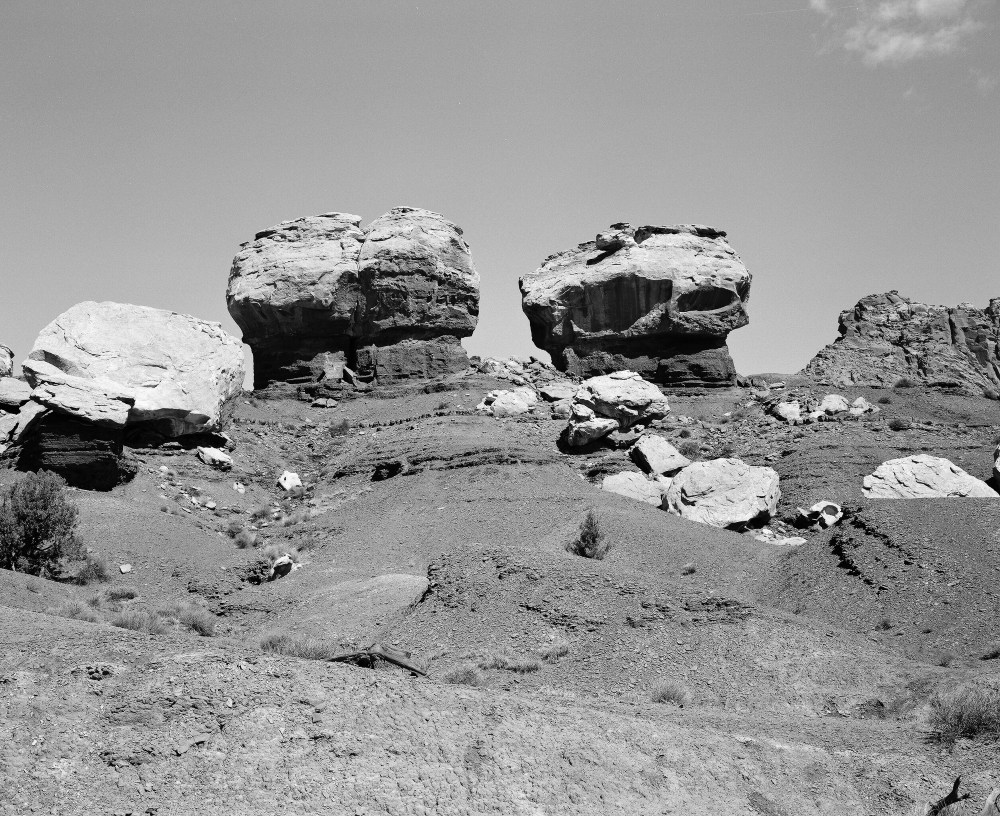
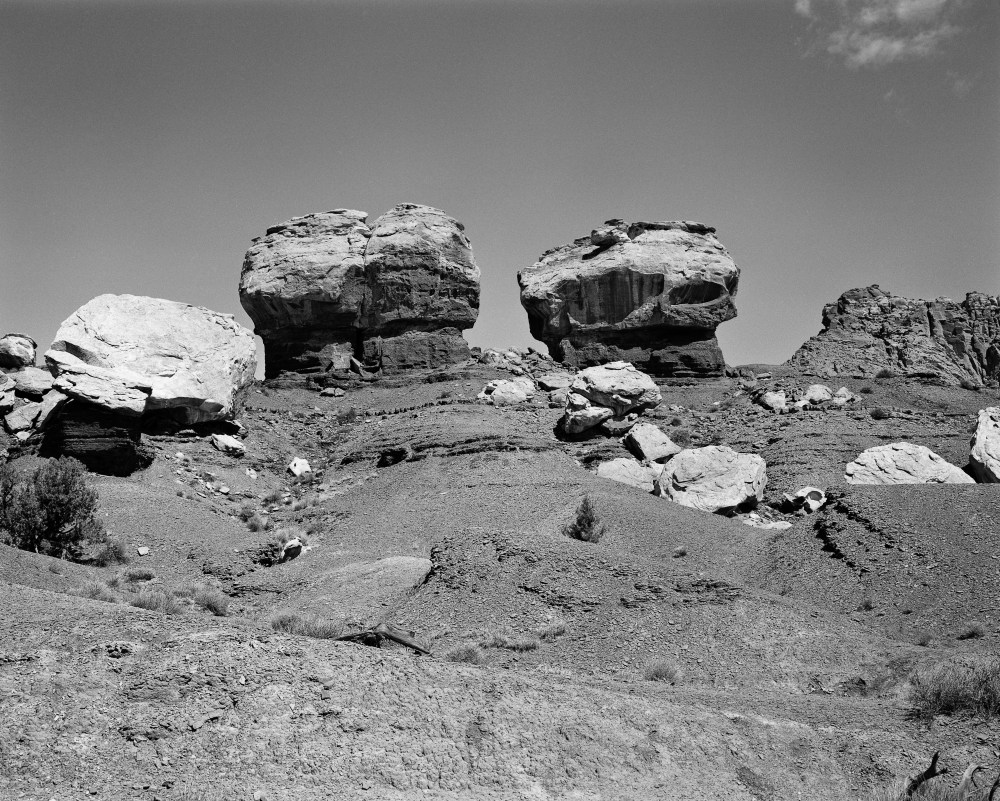
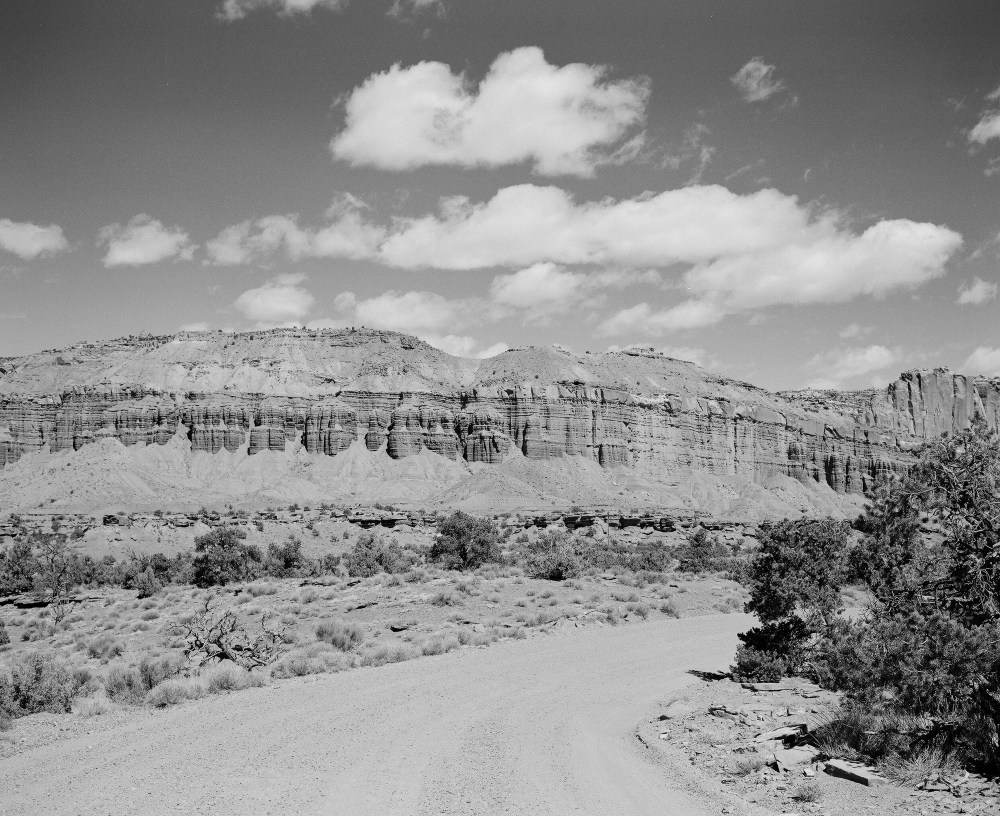
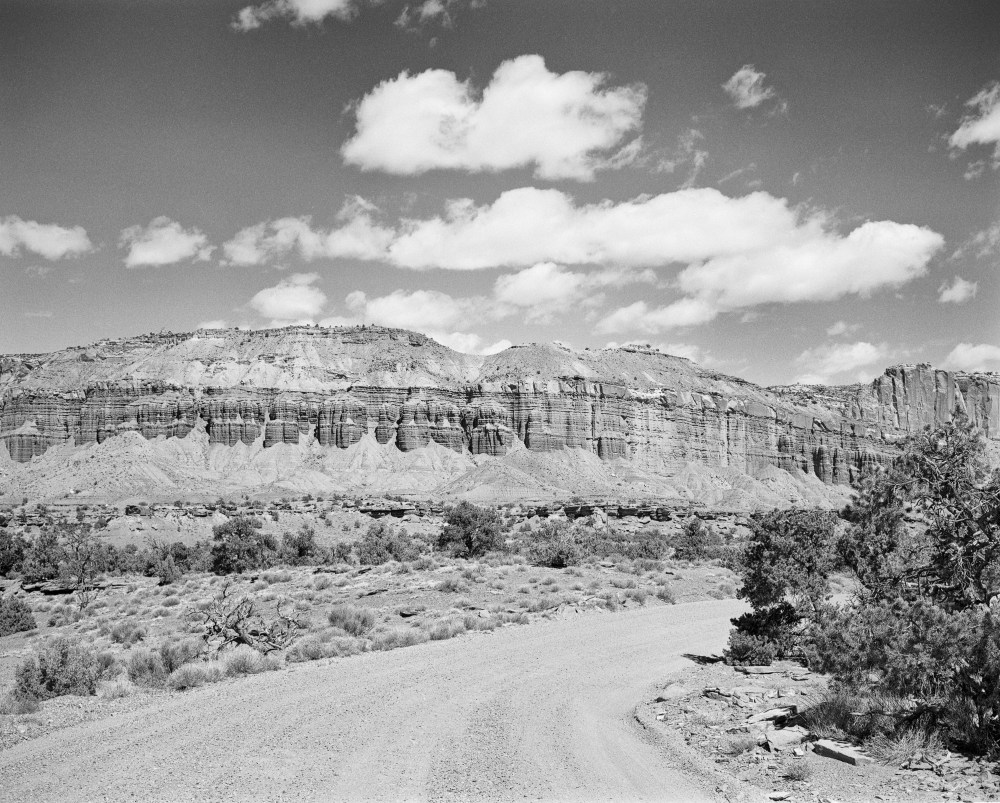
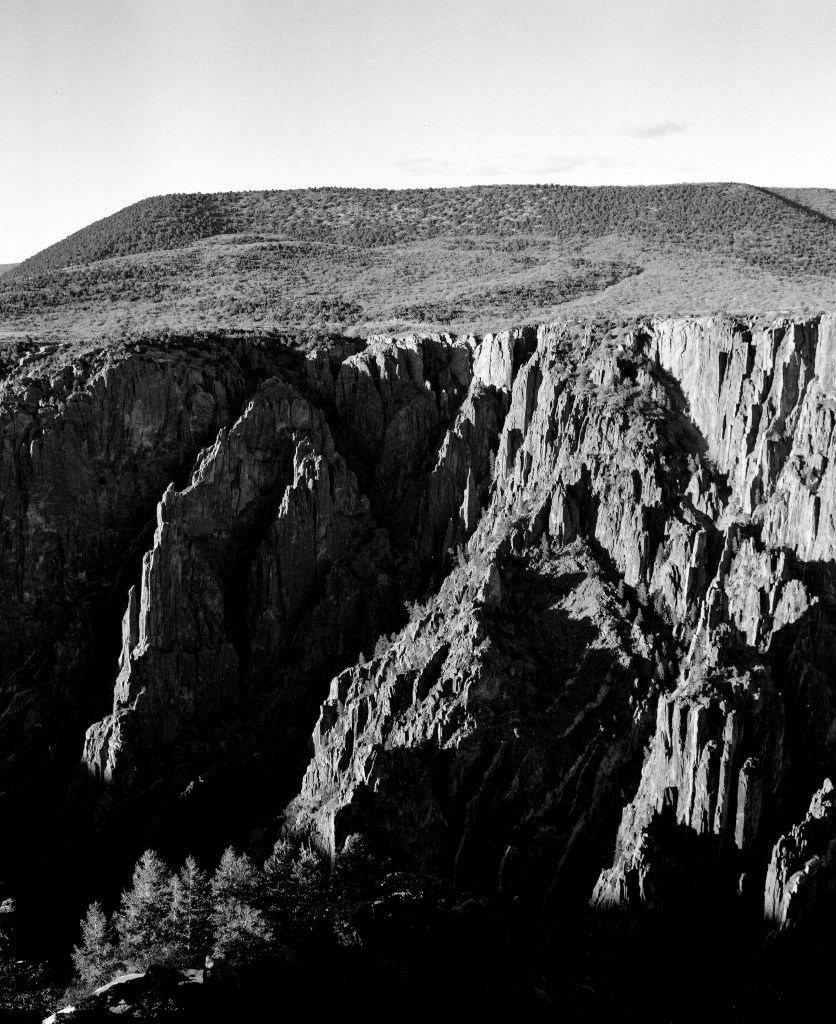
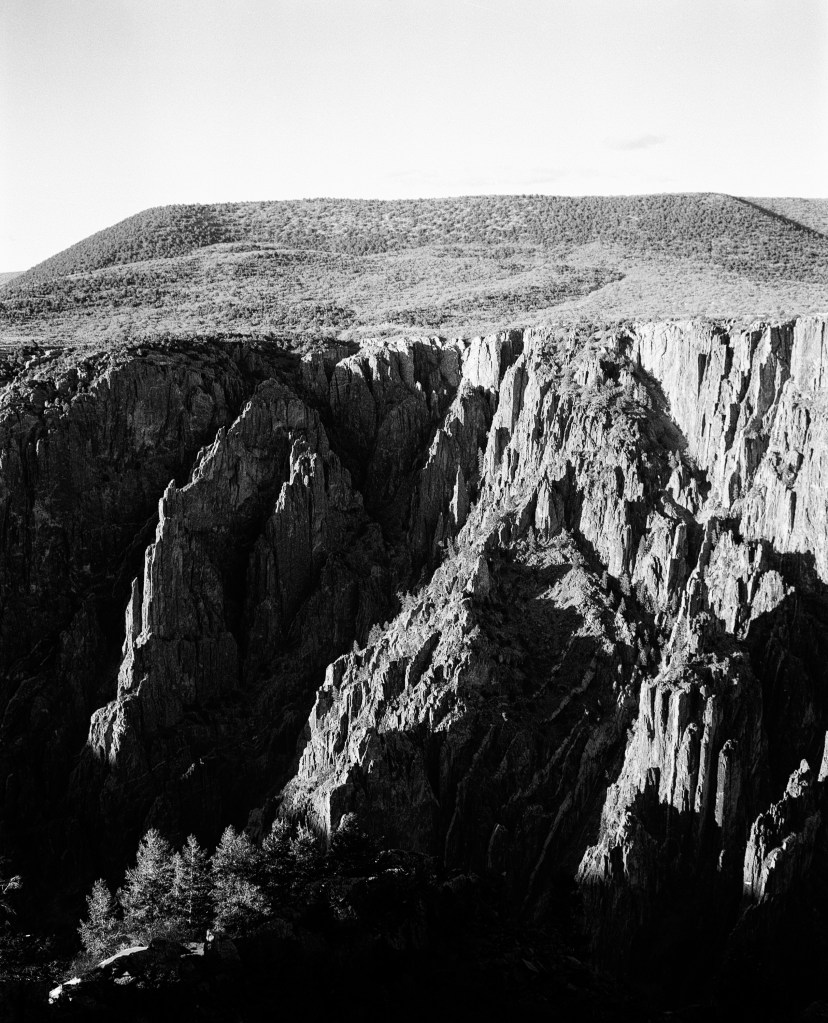
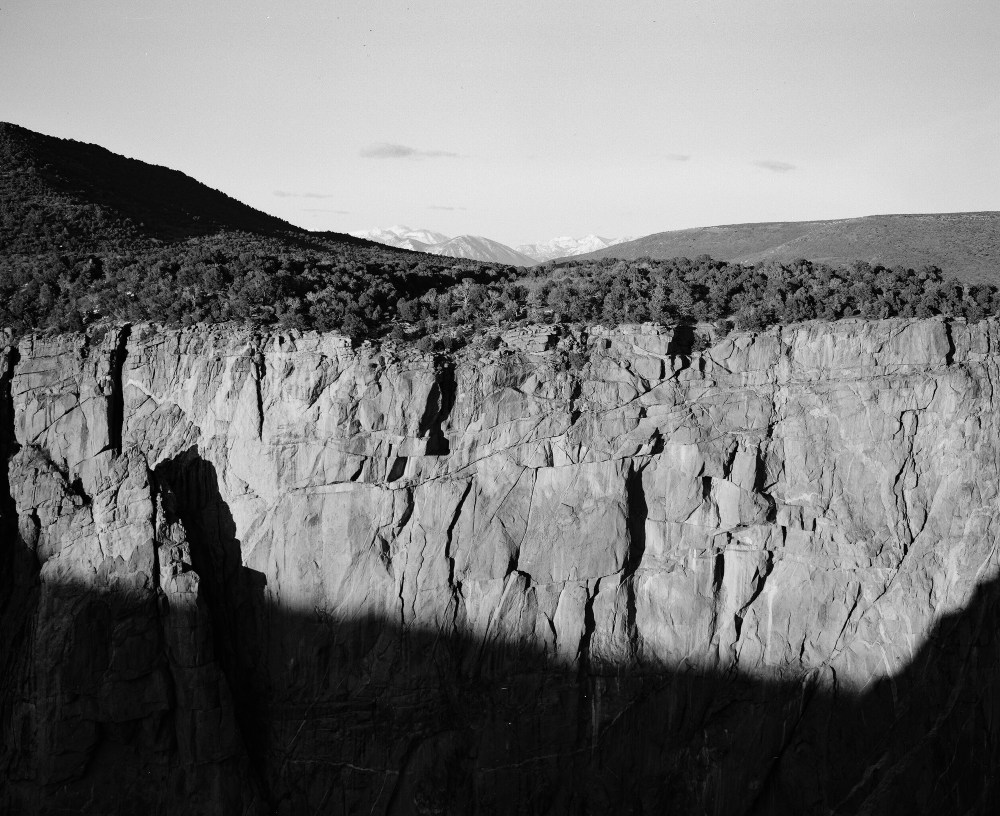
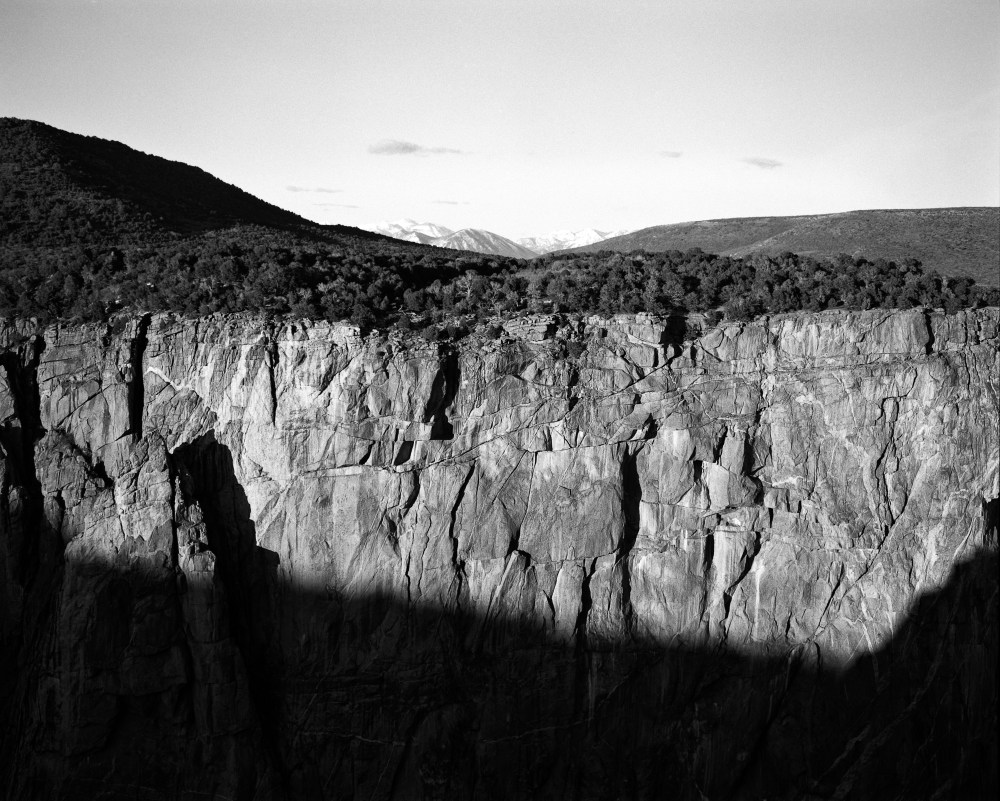
Anyways, on to the roll! This was my first time using Ilford FP4+, which is a 125 ISO black and white film. I also experimented with an orange filter quite a bit during this roll because I was hoping it would help add contrast in the right way throughout the landscapes. The rocks in Bryce Canyon/Utah (where most of these images were shot) are very reddish-orange. I hoped that the orange filter would have the effect of lightening these rocks and darkening the blue sky (since blue is roughly opposite of orange on the color wheel, the orange filter will let less blue light through and effectively darken those areas of the image). It’s a little hard to tell how significant of an impact the orange filter had since I didn’t shoot side-by-sides with and without the filter, but I’m sure it helped a bit. For example, the eighth shot below was taken with an exposure value that placed the sky in zone 6, which is one stop brighter than average middle grey. The main rocks in the scene were placed in zone 5, yet the sky is noticeably darker than the rocks in the final image thanks to the orange filter (and some contrast adjustments in Photoshop).
As far as the scans go, I wasn’t too frustrated with the files I got back from the lab. Whereas I feel like they really dropped the ball with all my color negative images from this trip, I was fairly pleased with the black and white images. I ended up re-scanning and doing some additional editing to all the files in the roll, however. This was mostly because I wanted to experiment with scanning black and white negatives. I also wanted to add quite a bit of selective contrast to the files, and that’s easier to do with a file that I’ve scanned into Photoshop directly than to modify the JPEGs I received from the lab. While it was a successful experiment, scanning turned out to be a huge pain since my scanning software (Silverfast) doesn’t have a good way of removing dust spots on black and white negatives (it can use infrared scans to identify dust spots on color negatives, but not on black and white)…which meant I spent a very long time in Photoshop removing those dust spots. Oh well. If you’re patient and have a good cup of coffee while you’re working it’s not that big of a deal.
All shots were taken with my Mamiya 7 II and the 80mm f/4 lens. The film was Ilford FP4+, and it was developed and scanned by Richard Photo Lab. For the scans I did myself, I used an Epson V850 scanner and Silverfast software. Since I re-scanned the images myself, I figured I’d do a complete side-by-side of RPL scans and my scans (with edits). I’ll point out which is which, and I’ll also point out which images were shot with an orange filter. All files were processed to some degree in Lightroom and/or Photoshop. Enjoy!

Thanks for sharing your experience here.
Useful for me right now. I am experimenting with B&W Ilford film, and a MA developing/scanning lab, for some New England seascapes and landscapes. I really do not want to do roll film development AND my own scanning as well. Bit of a quandary here regarding scanning, which is very subjective.
LikeLiked by 1 person
Hey Wayne, sorry for the delayed reply — I missed your comment when you first posted it. Glad this post was useful! You might want to try asking the lab to scan for the highlights. I’m finding that those seem to be the magic words (at least for the lab I’m working with) to prevent any overexposure of the highlights in the scanning process. That helps a bit, but unfortunately we’re always going to be ceding some of our creative vision to the lab techs if we don’t want to do the scanning ourselves…
LikeLike
Thanks. I will try your film lab, with “scan for highlights”.
I am trying various labs for B&W scans of my landscape images on Ilford film.
LikeLike
Awesome! Let me know what kind of results you get!
LikeLike