
30 Days with the Fuji X100F: Day 2
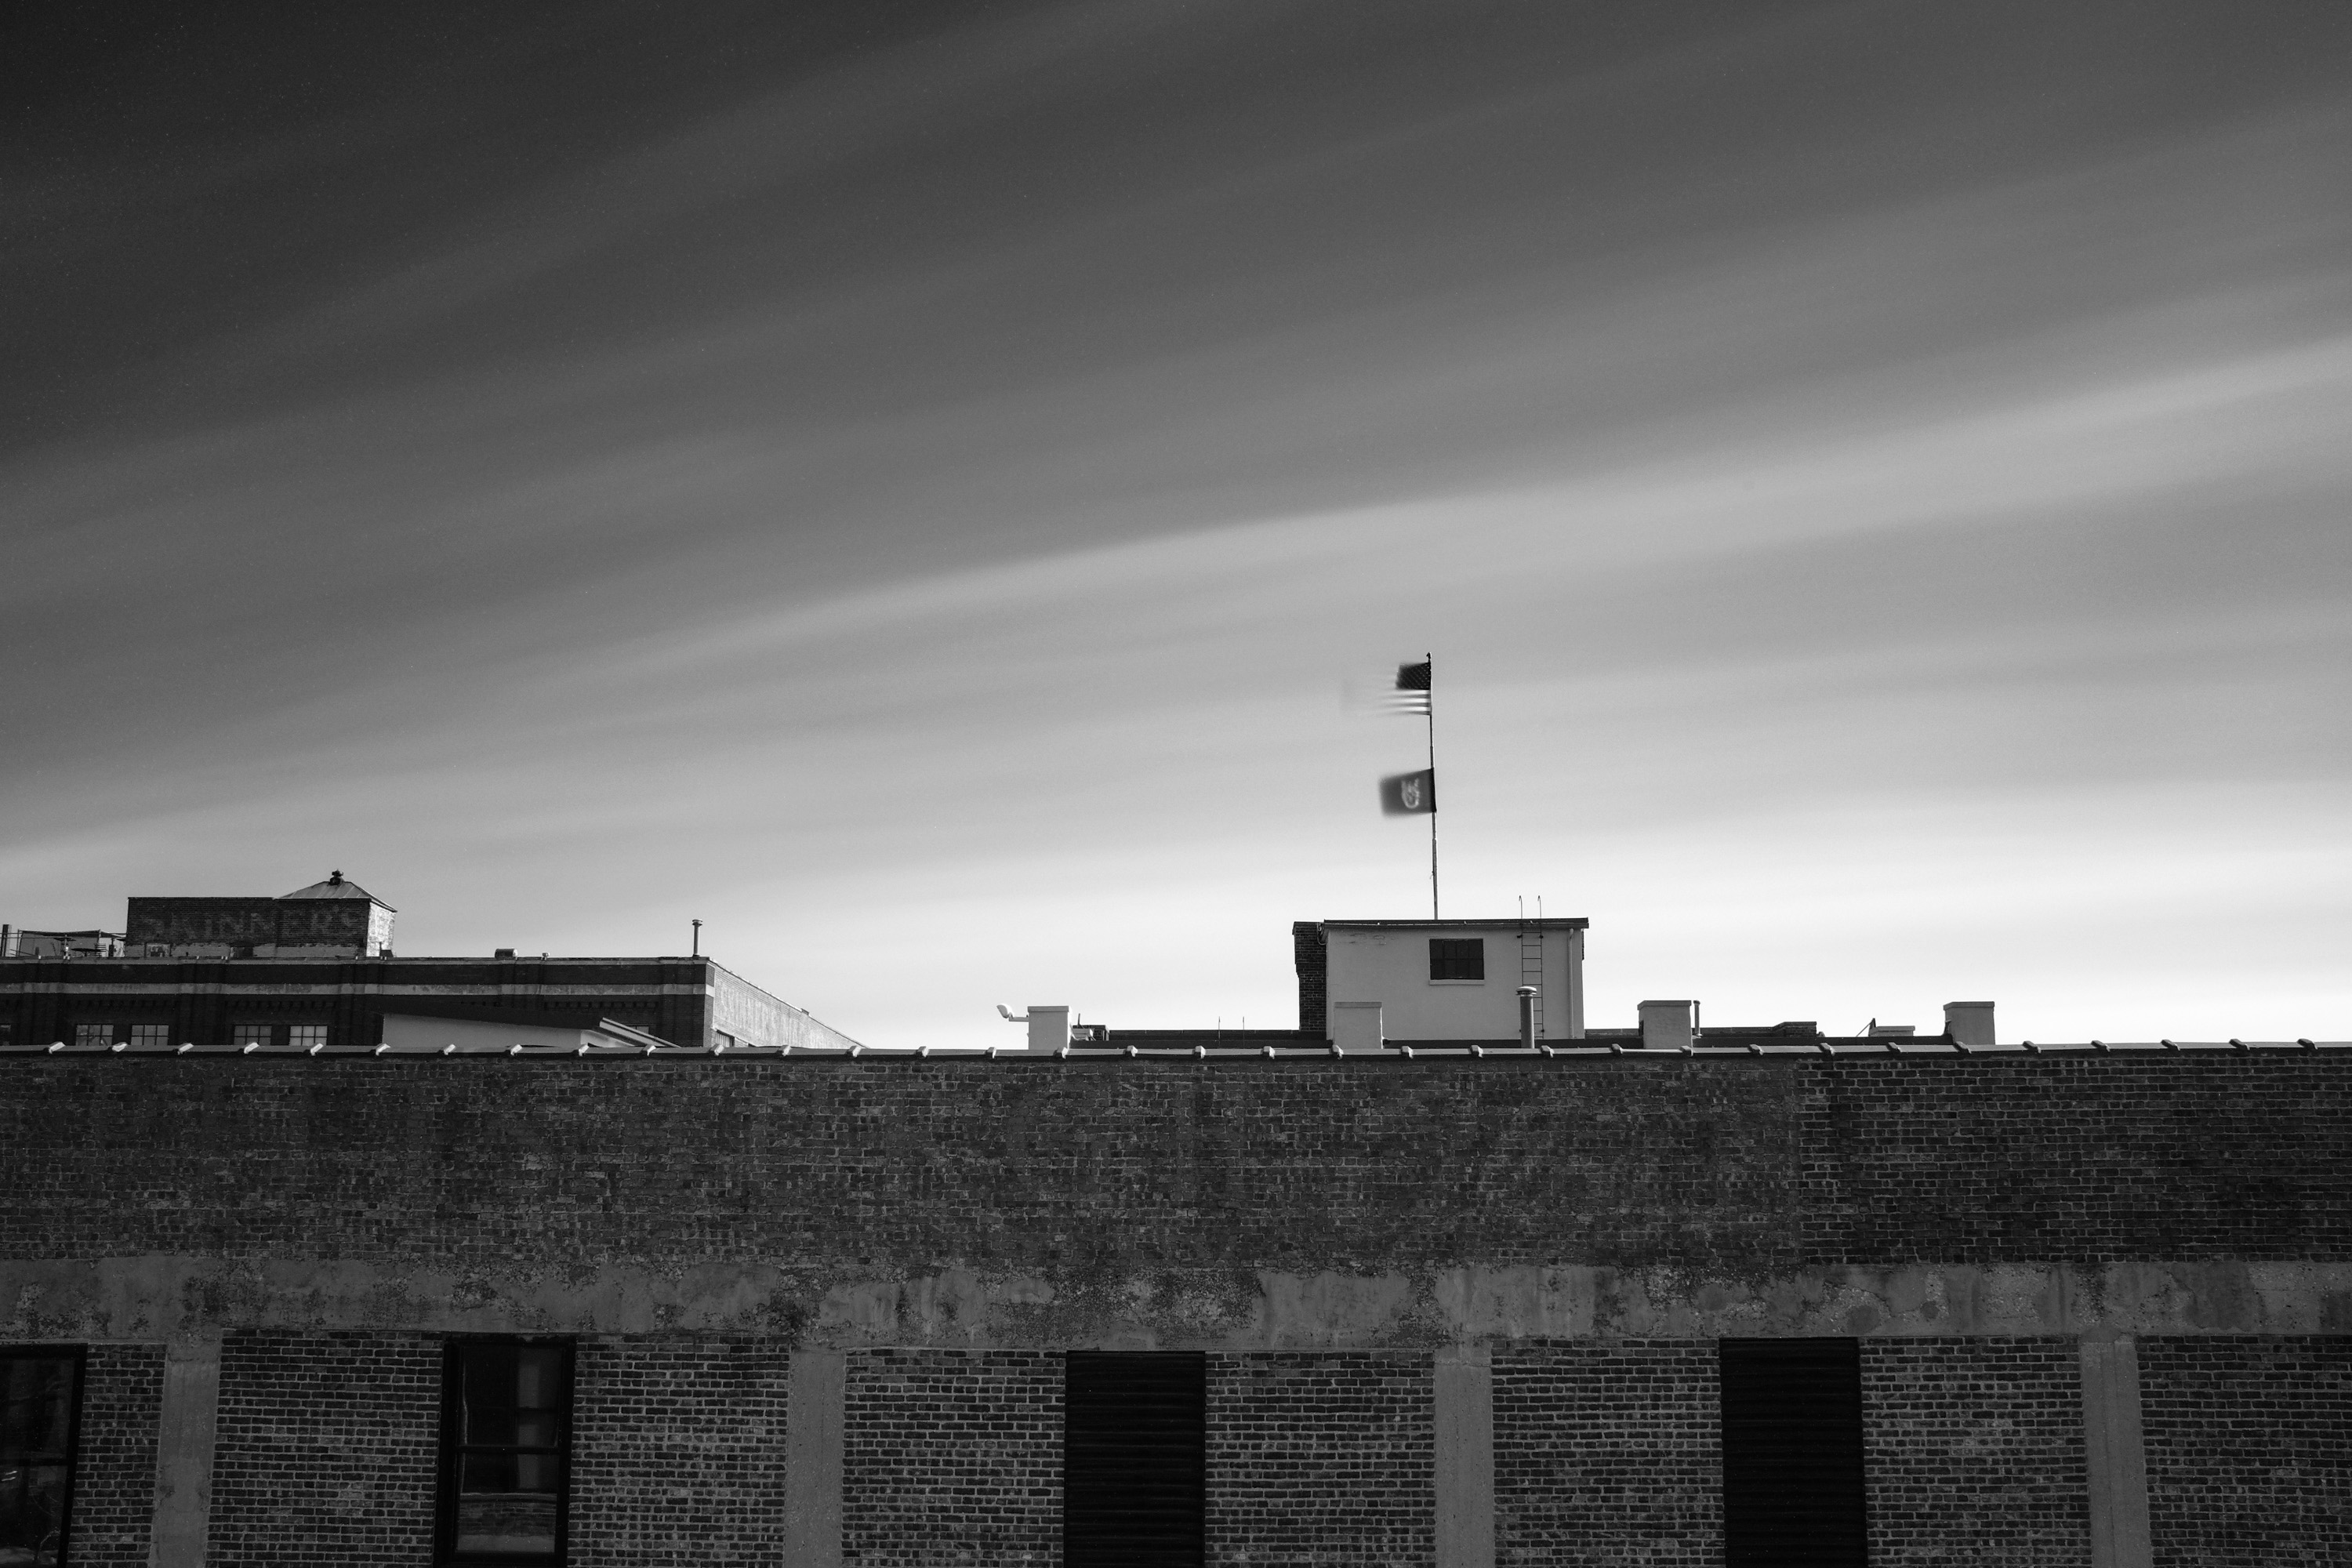
Today’s shot is courtesy of my balcony and a very windy day. I work from home and my desk is right next to a huge window, so I spend a lot of time looking at this exact scene. It was super windy yesterday, so after watching cloud after cloud whizz by my peripheral, I decided to make a picture out of it!
Though this image has a pretty simple composition, the setup was anything but simple. I put the X100F on a tripod on my balcony and then went to work…below are all the adjustments/settings I used:
- Aperture of f/11: I wanted a long shutter speed, so a small aperture helps. But I also want a sharp image, and super small apertures can cause some slight softness. The X100 series lens is super sharp at f/8 and f/11 but softens a bit at f/16. The falloff in sharpness probably wouldn’t be noticeable in most cases, but I played it safe by picking f/11.
- ISO of 100 (L): The base ISO on Fuji X cameras is 200, but 100 is available as a way to essentially double exposure times. As far as I can tell, it doesn’t provide any other benefit (such as lower noise), but when you want to shoot long exposures in the middle of a sunny day it comes in handy.
- Built-in 3-stop ND filter: Pretty self-explanatory…this ND filter allows me to slow the shutter speed by three stops. Obviously it’s pretty handy that this little guy is built into the camera! In this case, though, a 3-stop slowdown wasn’t going to cut it, which brings me to…
- Lee Big Stopper (10-stop ND filter): Adding this wonderful LEE filter really brings the shutter speed down…from fractions of seconds to minutes, which is exactly what I was looking for with this image. I ended up with a ~10 minute exposure, which was great for really smoothing out the streaking clouds and creating a great pattern of contrast in the sky.
- Lee 3-stop ND grad: I used this graduated filter to reduce the exposure in the sky an additional 3 stops. This was important because the sky was so much brighter than the brick building in the foreground. This filter let me lengthen the exposure to get the building decently exposed while also keeping the sky sufficiently dark.
- Lee Polarizer: The polarizer serves double-duty in this case. Being a filter, it obviously reduces the shutter speed a bit (exactly what I’m looking for in this case!). But it also does a great job of separating the blues in the sky from white clouds. Which brings me to…
- Acros + Red filter film simulation: The red filter simulation on a black and white image drastically reduces the sensitivity to blues. The polarizer darkens the blues, and then the simulated red filter turns those darker blues into darker blacks. This leads to a great contrast between the sky and the streaks of clouds, which creates all the drama in this shot.
So that’s it! A simple image with a complicated setup. The majority of what went into this image was related to the filters, not the camera itself, but I think it’s still a good reminder that you can take complex images with this little “point and shoot” camera. Form influences function, so I sometimes find myself selling this camera short in terms of what it can do. I don’t think of this camera as a heavy-duty landscape camera because it’s so small, but crazy setups like this remind me of all the potential that’s packed into this delightful little package. 🙂

Hi Kyle.. it would be cool to see the same shot from your window, with acros, at normal exposure, with no additional filters.. nice stuff, well done, regards Drew
LikeLiked by 1 person
Thanks for the suggestion — I agree that could be a cool comparison! I’ll take a quick snapshot and add it to the end of this post!
LikeLiked by 1 person