In Development: Adventures in Film, Volume Six
For my sixth roll of film, I experimented with pushing film for the first time. “Pushing” refers to the process of deliberately underexposing your images and then compensating for the underexposure in development. This creates a distinctly different look than exposing and developing “normally”. Different film types respond to pushing differently, but in general results will be more contrasty, more saturated, and more grainy.
For this roll, I pushed Ilford HP5+ 400 one stop to 800. The numbers refer to the ISO system of measuring film speed (or its sensitivity to light). Higher ISOs indicate “faster” film that is more sensitive to light. When you use a light meter in order to determine the proper exposure for your image, the light meter takes as an input the film’s ISO (along with shutter speed and/or aperture). When you shoot with an ISO 400 film but you tell your light meter that the ISO is 800, you’ll end up underexposing your film (provided you listen to your light meter…). This is because the light meter will be telling you what the proper exposure is for a film that’s more sensitive to light than what you’re shooting, and you’ll end up not exposing your film to quite enough light.
Saying that I pushed “one stop” refers to the amount of I underexposed. A stop refers to a doubling or halving of light, so pushing one stop means I captured only half as much light as I should have according the light meter (note: I know there’s no right or wrong when it comes to exposure and it’s all just preference, but I’m ignoring artistic liberty for now to simplify this explanation…). Of course, you can push film more than one stop if you’d like, and some films handle pushing two or three stops quite well.
This deliberate underexposure during shooting is one of the main reasons – aside from simply liking the look – for pushing film. If you’re underexposing your images, that means that your shutter speed can be faster than it otherwise would need to be (shorter/faster shutter speeds = less light = underexposure). When you’re trying to shoot in low light situations, you’ll often find yourself in need of a tripod if you’re shooting with a low ISO film. If the film is pushed, however, you can use that low ISO film in dark situations without an inconveniently long shutter speed. This is also helpful when you’re trying to freeze motion, as longer shutter speeds lead to more motion blur.
When you send your underexposed film off to the lab, you note that you’d like the film pushed a certain number of stops (or to a certain ISO). This tells them how much they need to compensate for the underexposure in the development process. Richard Photo Lab, the lab I’ve been using lately, has a really good analogy for this process here:
In order to understand pushing/pulling film during development, let’s start with a little visualization exercise to illustrate the chemical process of developing film. Imagine a frame of film as an empty square. Drop a handful of sand onto the square–that represents the light that hit the film. In some places there is more sand, and in some places there is less sand. When you develop film, you are developing the areas on the square that were hit by sand. Two things determine the brightness/darkness of the image: how much sand hit the square, and how long it is in the developer. The areas that were hit by sand get brighter the longer they are in the developer.
So, by leaving the film in the developer for longer, you get a brighter image than you otherwise would. This helps compensate for the underexposure. But it’s important to note that the image won’t get universally brighter. This perhaps the most crucial concept for pushing film. The parts of the film that are hit by sand/light will get brighter the longer the film is left in the developer, but the parts of the film that weren’t hit by any sand/light won’t get any brighter. This results in brighter highlights, brighter midtones, slightly brighter shadows, and blacks that aren’t any brighter. This greater distance between the darks and lights creates the extra contrast that I mentioned at the beginning of the post. In general, the overall exposure of the pushed film will be similar to the exposure of non-pushed film shot at the film’s ISO, but there will be more contrast.
Of course, the amount of contrast and tonality in the “final” image is also very much dependent the density correction that’s done during the scanning process (in a hybrid workflow where the film is digitized prior to sharing/printing)…but that’s a topic for another post. 🙂
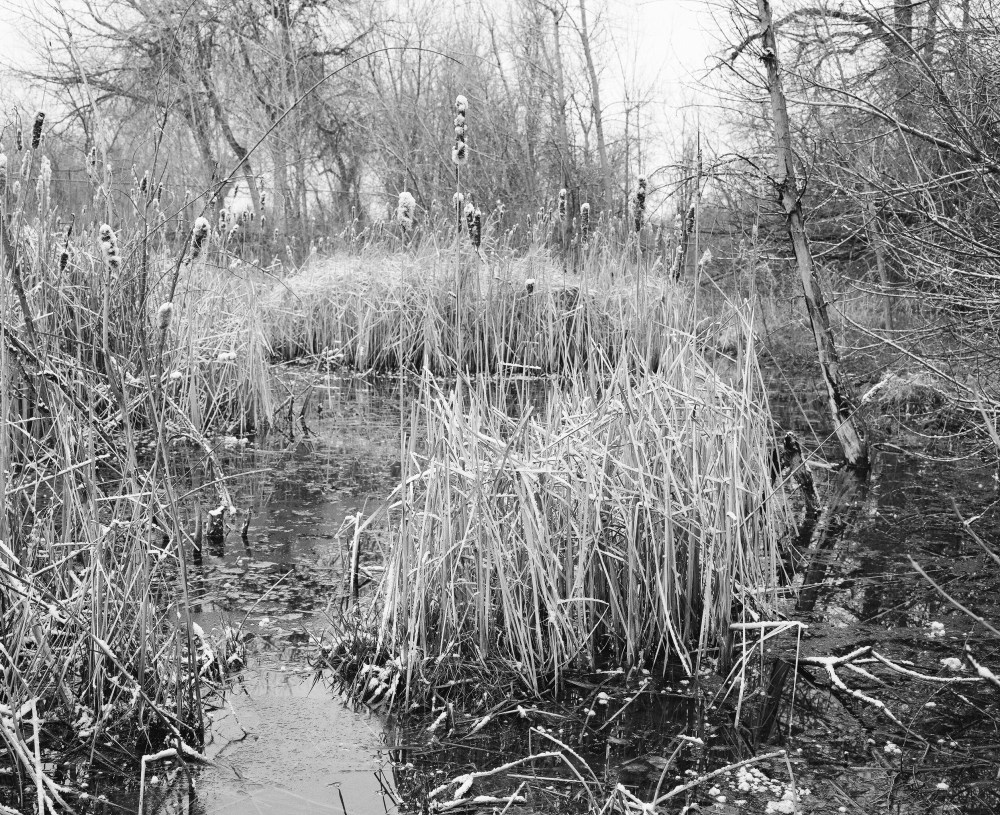
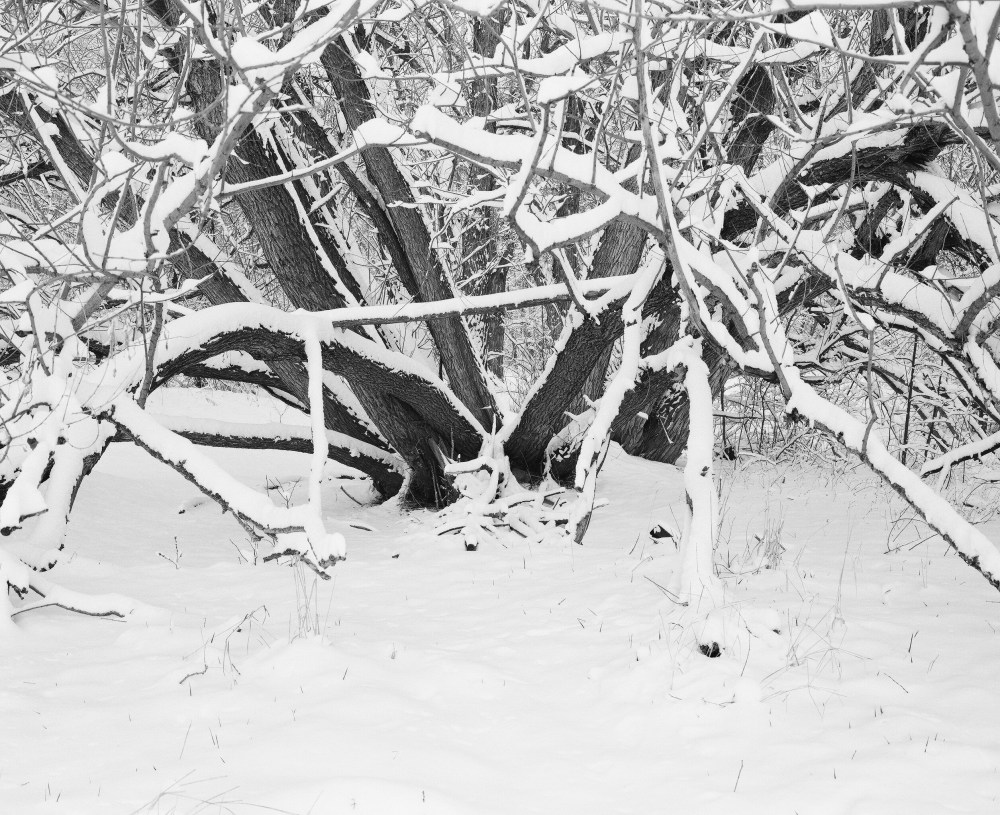
Anyways, that’s enough rambling about pushing film…on to the pictures! These were all shot with my Mamiya 7 II and an 80mm f4 lens in March 2016. This was when I was still living in Colorado, and as you can see from some of these pictures there was quite a bit of snow in Colorado in March… The last three shots were somewhat rushed, as I was flying to Chicago and needed to finish my roll of film before sending the camera through the X-Ray machine. I also shot a couple images of my lens cap (#rangefinders) that I didn’t include in this gallery, which is why there are only 8 images instead of the usual 10. The film was developed and scanned by Richard Photo Lab, and the majority of the images were not processed at all digitally. Enjoy!